
Rustberry Jukebox
So, I am one of those tech-affine parents, who wanted to build some kind of Jukebox device for their child. In this post I provide an overview of my specific jukebox implementation.
There are commercial products and existing hobbyist projects, but for several reasons I decided to work on my own project. It is called Rustberry Jukebox and the core software is written in Rust. Even though the name might suggest otherwise, please note that this is not related to an existing Rust crate with a similar name.
The feature set I had in mind for the jukebox device:
- Rustic/old aesthetics (as opposed to the polished modern interface of commercial products)
- Stream music from Spotify via WLAN
- Playback controllable via RFID tags
- Hardware button for switching the jukebox on and off
- Status LEDs (jukebox running and jukebox playing)
- The code should be conveniently cross-compilable for a Raspberry Pi.
This is the resulting jukebox:
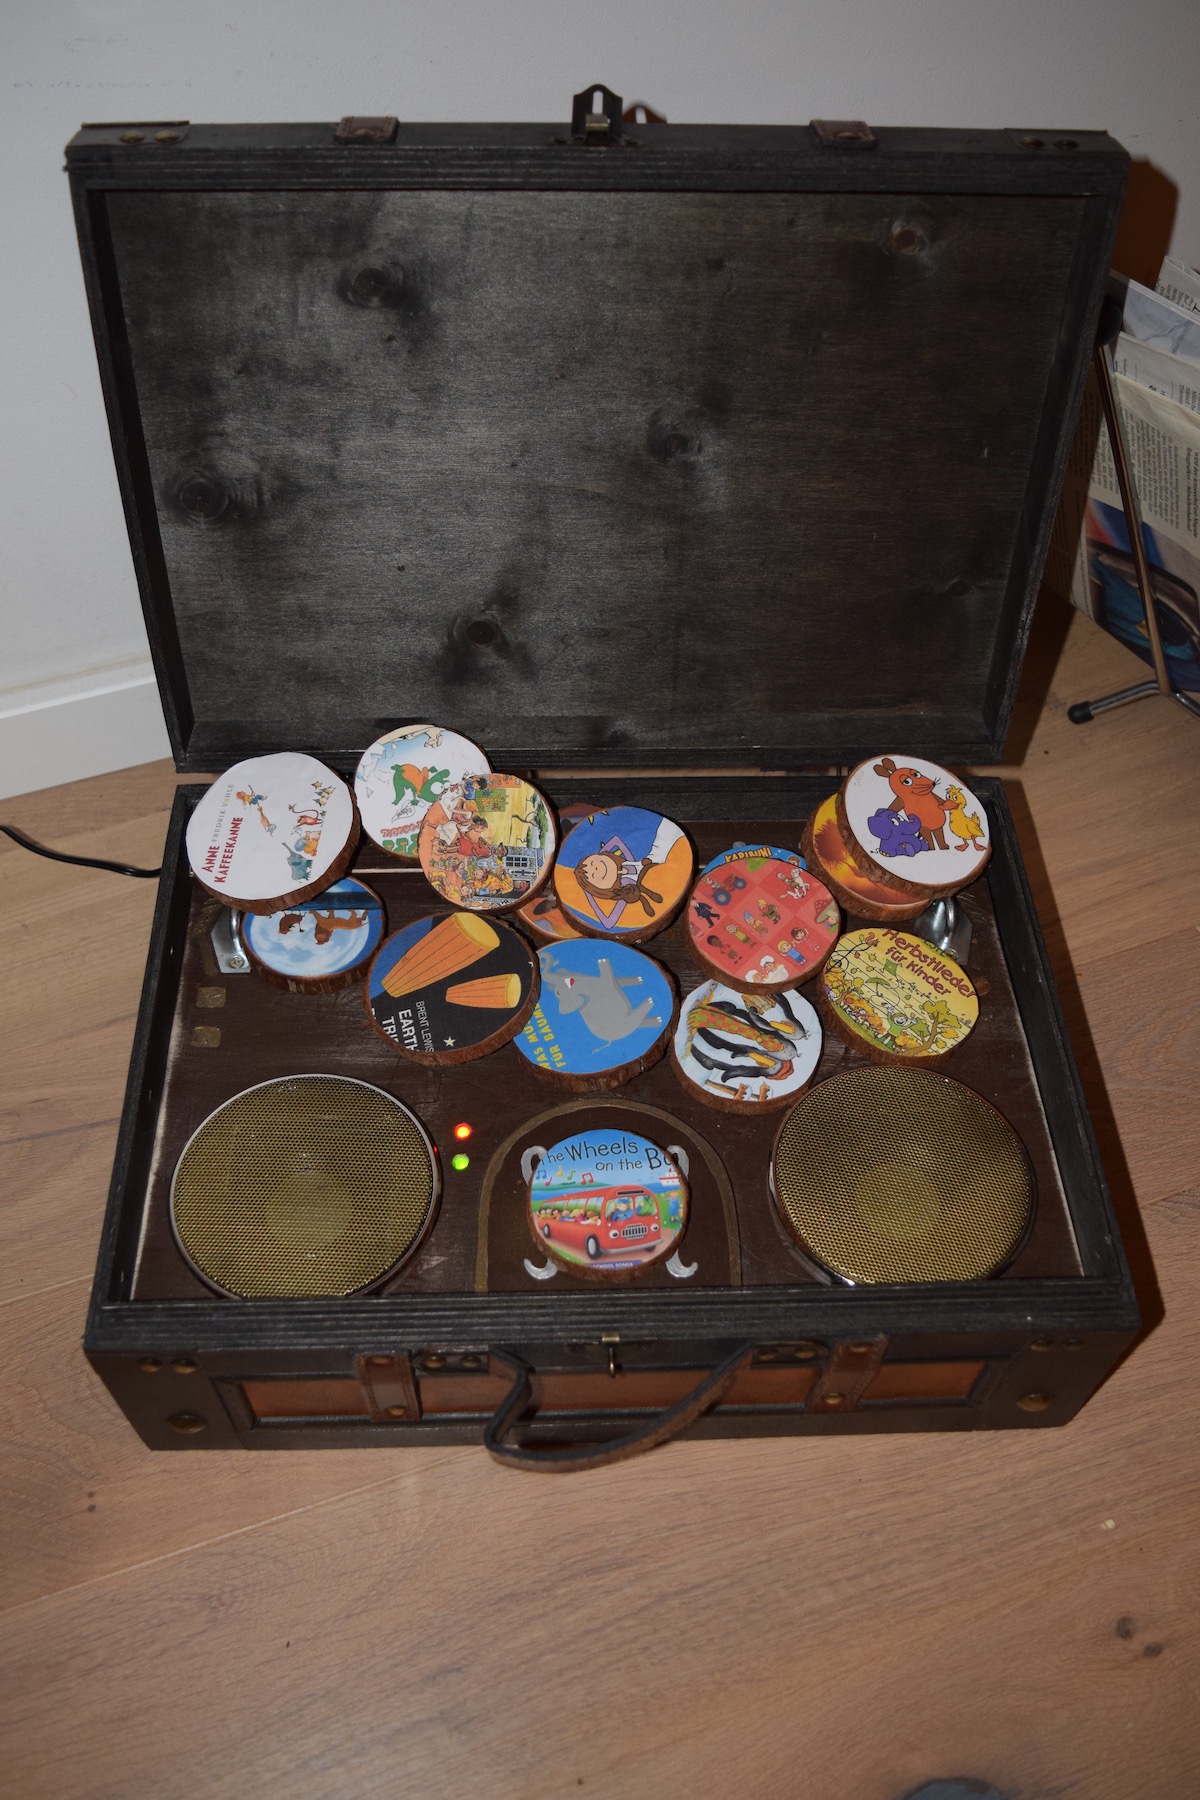
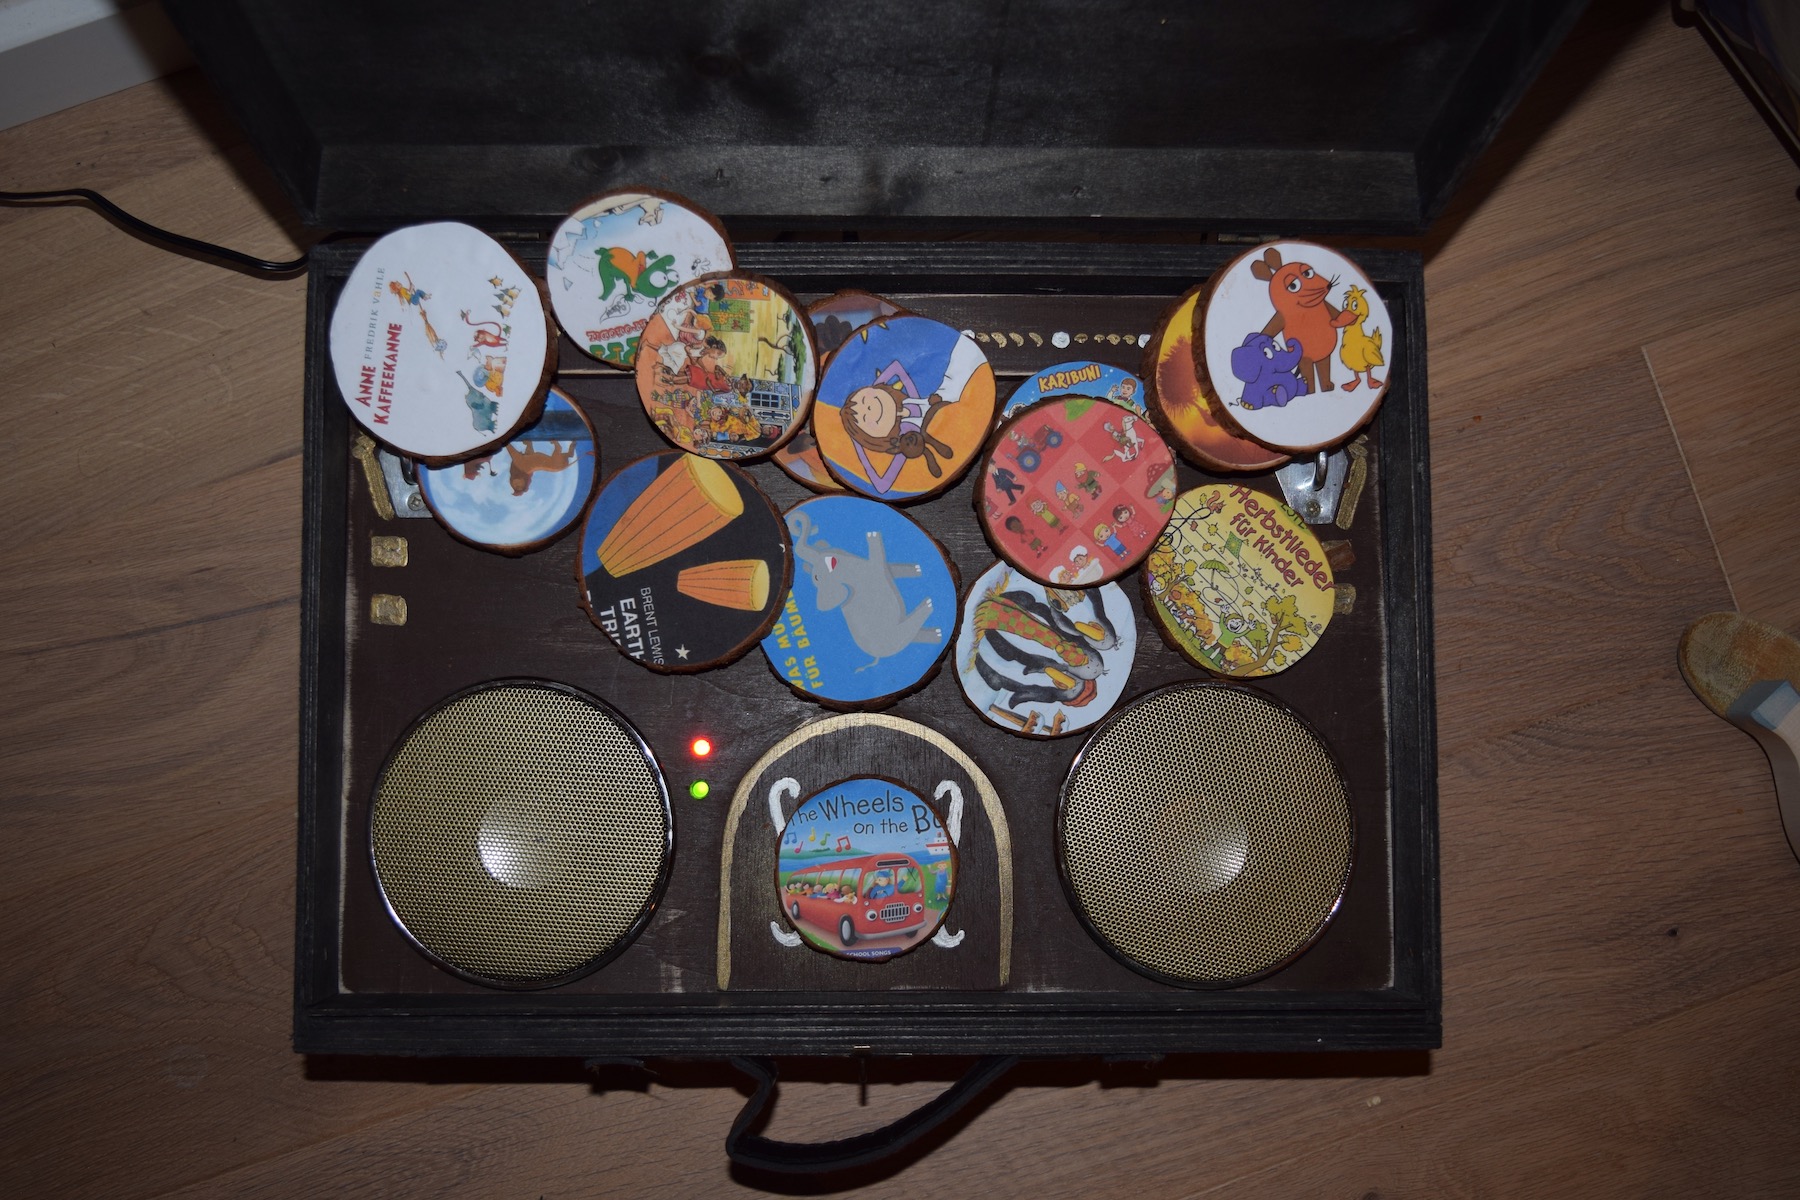
Let us now have a closer look.
Components
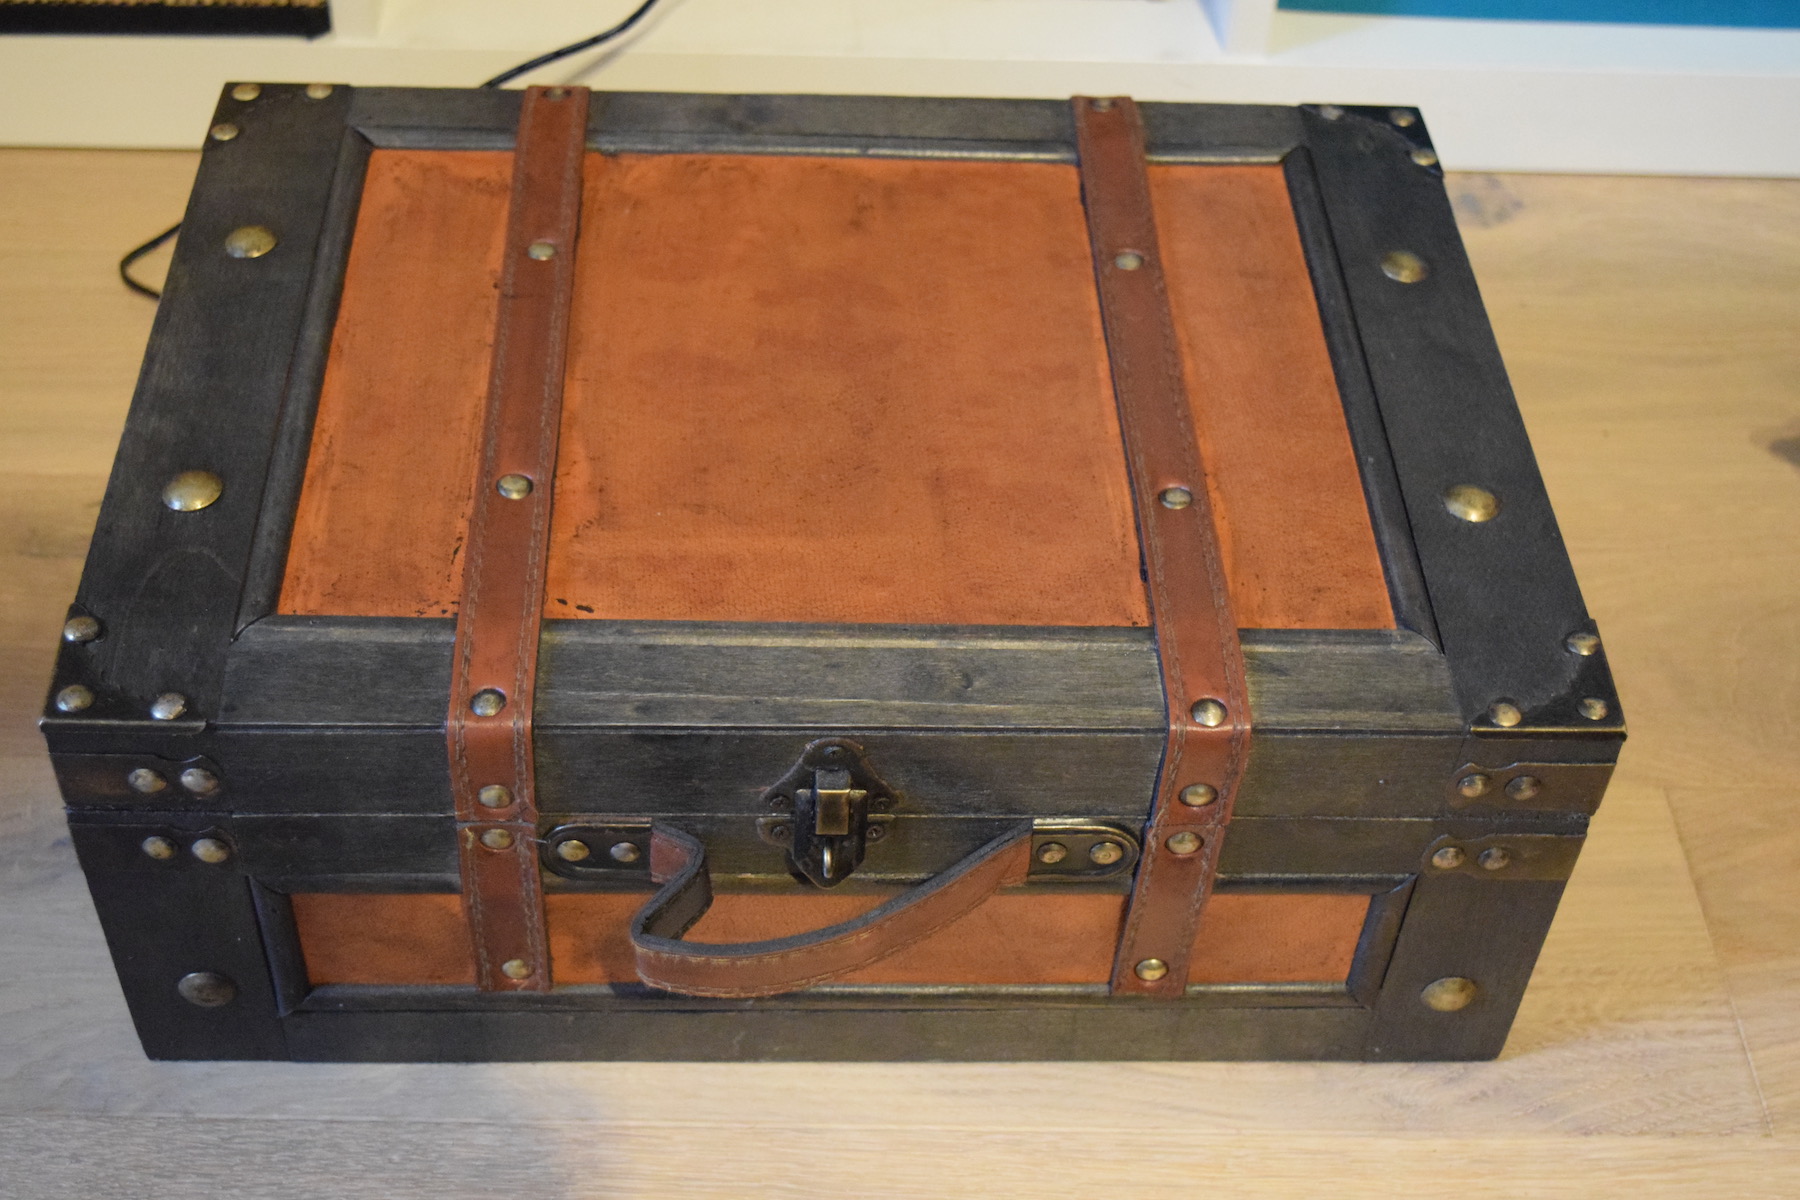
The Case
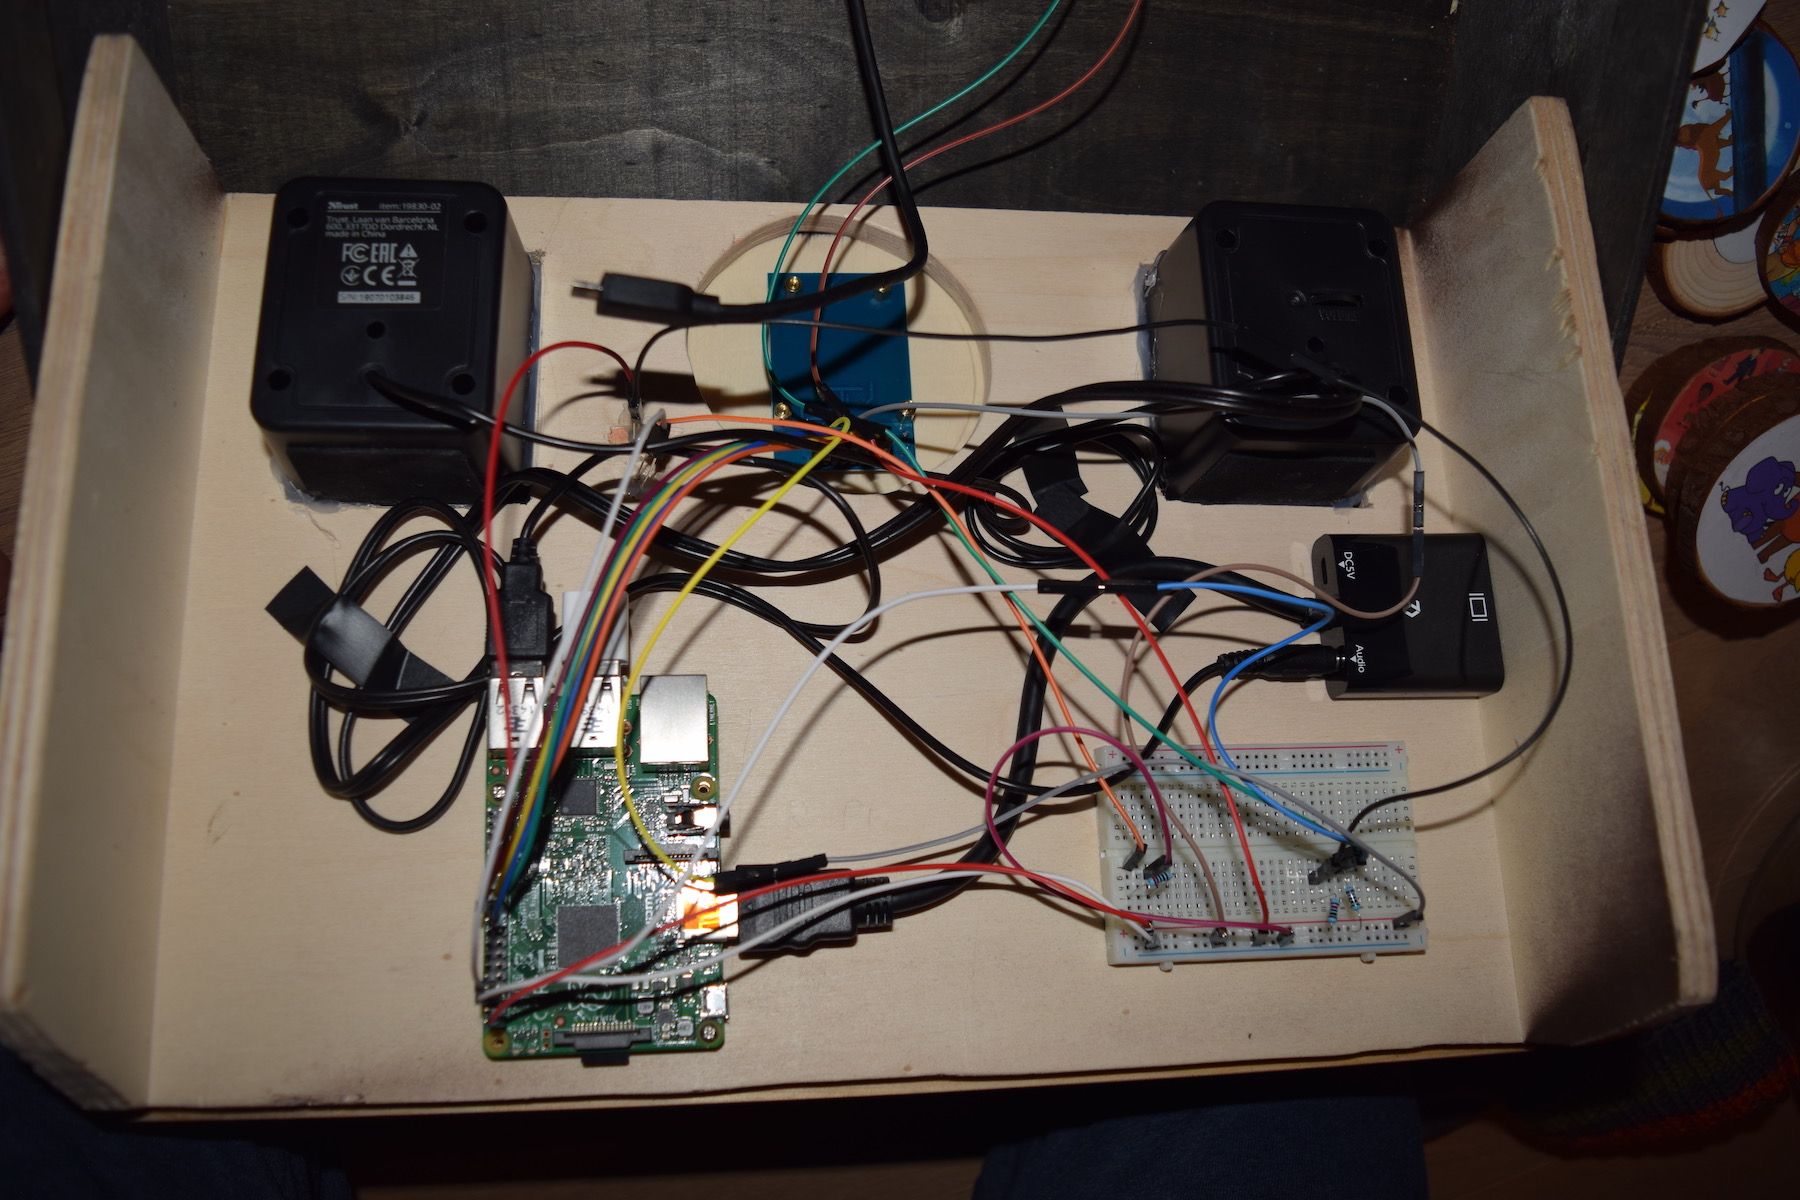
I am pretty unexperienced when it comes to physical manufacturing. Fortunately I found a potential enclosing, which seemed promising: an old looking suitcase / treasure chest. I thought it might be feasible to build a double bottom into this suitcase, having enough hidden space for all the tech stuff inside (Raspberry Pi, speakers, power, circuits, cables / adapters) and providing enough space above the double bottom for user controls and RFID-equipped records.
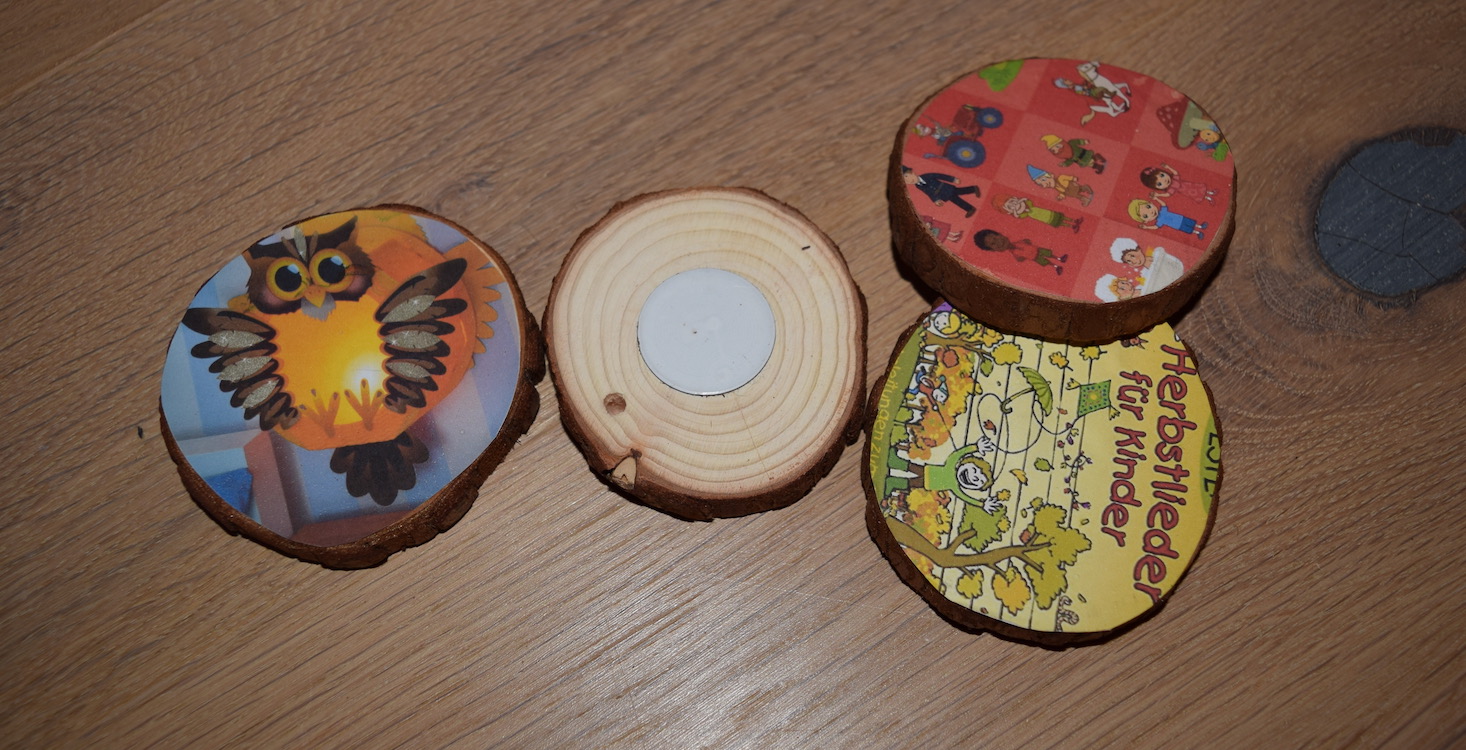
The Records
What should the RFID tags be attached to, if one does not want to use plain RFID cards or transponders? Again, I was lucky to find a product, which matches the intended rustic aesthetics and allows for cheap extensibility: wooden discs. The idea is to stick the RFID tag to the bottom side of a disk and use the top side for artwork.
The Tech
I had an old Raspberry Pi 2 laying around, which I intended to use as a technological foundation for the jukebox. The playback should be controllable via RFID tags – a technology, which I am not familiar with at all. After some research I had identified the MIFARE RC522 as a common and well-supported RFID reader/writerfor suitable for use with a Raspberry Pi. This device is compatible with RFID tags such as MIFARE Classic 1K Chip, 13.56mhz.
For enabling audio output, I went with the Trust Leto 2.0 USB Speakers. I was somewhat worried about the energy consumption (6W) of these speakers, since I prefer to not use additional power sources besides the Raspberry Pi’s own USB connectors for compactness reasons. But they seem to work fine at medium volume. The USB speakers connect to the computer via a standard stereo jack, but as is well-known the stereo jack output of the Raspberry Pi offers poor quality. Therefore I have decided to extract the audio signal from the Raspberry HDMI output using a simple HDMI-to-VGA adapter capable of extracting the HDMI audio signal.
The Software
As mentioned above there are already software solutions for an RFID-controllable jukebox. But after a quick look at the Phoniebox software RPi-Jukebox-RFID I decided to build my own project. The primary motives for this decision include the following:
-
RPi-Jukebox-RFID seems like a rather huge Python project and I am neither particularly familiar with Python tooling, nor with the Python ecosystem. Also, I have not had the best experiences with Python codebases in the past, though I cannot judge about the quality of this particular project.
-
Currently I am primarily interested in one particular use-case: Spotify integration – which is labelled as “experimental” for RPi-Jukebox-RFID. I wanted something more compact and simple.
-
From the introductory video of the Phoniebox it seems that the RFID-control logic is such that an RFID tag is used only for triggering playback. What I would prefer is that an RFID tag is used for controlling the playback, which means starting and stopping it, similar to the commercial Toniebox: Playback is active as long as the RFID tag is in range of the RFID reader.
After evaluation of a few options I decided to build the software with Rust, since I learned to like that language, it performs well, has a great package ecosystem, can be used for lower-level hardware access, comes with a low memory footprint and it has a pretty good cross-compilation story. Besides, I have never worked on a similar project and it seemed like an interesting learning opportunity.
Spotify Playback
Regarding Spotify Playback, my initial plan was to run Firefox on the Raspberry Pi and use the Spotify Web SDK for providing the Spotify streaming capabilities. This worked pretty well on my development machine. But once I tried it out on the Raspberry I had learn the hard way that the Spotify Web SDK requires Widevine DRM Support, which the non-official Firefox builds do not contain (and for ARM there are no official Firefox builds). So this was my daily lesson in the category “Integrate early”. So, how do I stream from Spotify? Well, Librespot comes to the rescue:
librespot is an open source client library for Spotify. It enables applications to use Spotify’s service, without using the official but closed-source libspotify. Additionally, it will provide extra features which are not available in the official library.
Librespot is used and packaged by the Raspotify project. They provide easy to install Debian packages for ARM Raspbian. With Raspotify installed and configured to use a specific Spotify Premium account, the Raspberry is ready to be used as Spotify client through the Spotify Web API.
OS
Actually I would have preferred being able to use NixOS on the Raspberry Pi, but unfortunately the ARM port of NixOS was way to rough around the edges for my use-case. The issues I have had with NixOS even on my Raspberry Pi 3, which comes with an AARCH64 CPU somewhat supported by upstream NixOS, included:
- Missing and/or incomplete documentation, in particular when it comes to
configuring the Raspberry Pi firmware and the boot process (after having
written a first
configuration.nixaccording to the documentation, the Raspberry Pi was unable to boot). - The boot process is slower than Raspbian’s.
- After about 2h work I was still not able to get audio working – something that just works on Raspbian.
With NixOS I like being able to declaratively configure the complete operating system with all required services and deploy a system configuration to a remote NixOS with complete rollback functionality built-in. Maybe somewhen in the future I can write the NixOS derivations for my Jukebox Software and deploy it to a Raspberry Pi running NixOS. But this is not today.
Given this unsatisfying situation I have decided to build on Raspbian.
RFID IO
A quick search on crates.io revealed the following list of potentially useful crates:
It seems that mfrc522 is currently very limited in functionality (see https://docs.rs/mfrc522/0.2.0/mfrc522/struct.Mfrc522.html) and does not yet support reading and writing the data blocks on an RFID tag. rfid-rs on the other side does support reading from and writing to the RFID tag’s data blocks, but the upstream code base had some issues, which is why I have created my personal fork for the purpose of this project. I will see if my changes can be integrated into the upstream version of the crate.
GPIO
For GPIO access there are multiple crates available, for example:
I have decided to go with gpio-cdev, since – according to my understanding – using the character device API for GPIO is recommended for new applications. I have been missing some built-in functionality for listening for events on mutliple GPIO lines at the same time, but that was easy to implement using threads and channels.
At some point I had confused the different GPIO line labeling systems. For debugging GPIO, the following command turned out to be very helpful:
watch -d -n 0.5 gpio -g readall
(the gpio program comes from the wiringpi package)
Circuits
For the first vesion of the Jukebox the following hardware related functionality should be be supported:
- A single physical button for switching the box on and shutting it down.
- Stable RFID tag reading via the RC522 reader.
- A status LED indicating that the box is running.
- A status LED for indicating that it is in playback mode (i.e. an RFID tag is near the RFID reader).
Power Switch
I found an article, which describes the wake-up functionality:
Simply put, shorting pins 5 and 6 (GPIO3 and GND) together will wake the Pi up from a halt state.
As indicated above, there should be a single physical button for switching the device on and shutting it down. Therefore, it is already clear that the power button needs to be connected to GPIO3, which needs to be configured as an input line. Since pressing the button is required to connect GPIO3 with GND, the GPIO3 line needs to be set to high when the button is not pressed. In other words, we need a Pull-up resistor connecting GPIO3 through a resistor with a voltage source when the button is not pressed. When the button is pressed GPIO3 will be connected with GND.
Power Status LED
There is a nice hack for building a status LED: Connect a LED to the Raspberry Pi’s serial console as described in the article Build a Simple Raspberry Pi LED Power/Status Indicator.
Playback Status LED
This is nothing fancy, just another LED conneted to a regular GPIO input line, which is configured as output and controlled in software.
Cross Compilation
I am currently developing on Darwin/x86_64, but the Raspberry Pi runs Linux/ARMv7. I have created a Docker image description, for a build container. The container contains the cross-compilation toolchain and is reachable via SSH. A build script is used for producing binaries of the Rustberry Jukebox software for the Raspberry Pi.